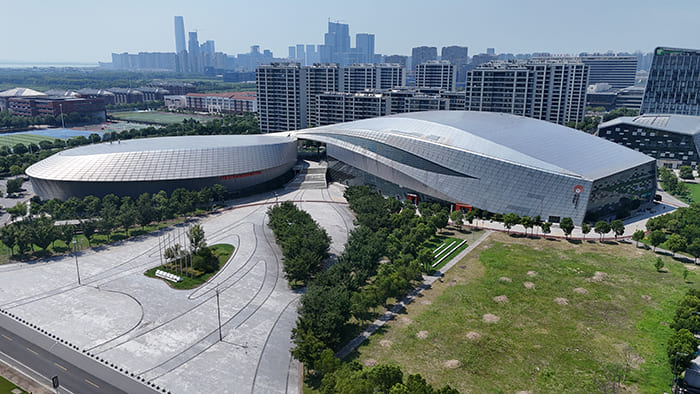
C and Z Purlins Design is one of the most important parts of an industrial roof system, even though purlins are often treated as secondary steel members. In a steel building, the main frames carry the primary structural loads, but the roof purlins support the roof sheeting, transfer loads to the frames, control panel alignment, and help the roof work as a stable system.
For warehouses, factories, workshops, logistics buildings, agricultural facilities, and industrial storage structures, purlin design affects more than steel quantity. It influences roof span, roof panel performance, wind uplift resistance, drainage, installation speed, maintenance safety, and long-term durability. A roof may use strong primary frames, but if the purlins are poorly selected or poorly connected, the roof system can still experience deflection, leakage, vibration, fastener problems, or erection delays.
Good purlin design is not only about choosing a C section or Z section. It must consider roof loads, frame spacing, purlin spacing, section depth, steel thickness, lapping method, connection details, roof panel type, corrosion protection, and site installation sequence. When these factors are coordinated early, C and Z purlins can provide a practical, economical, and reliable roof framing system for industrial buildings.
What Are C and Z Purlins in Industrial Roof Systems?
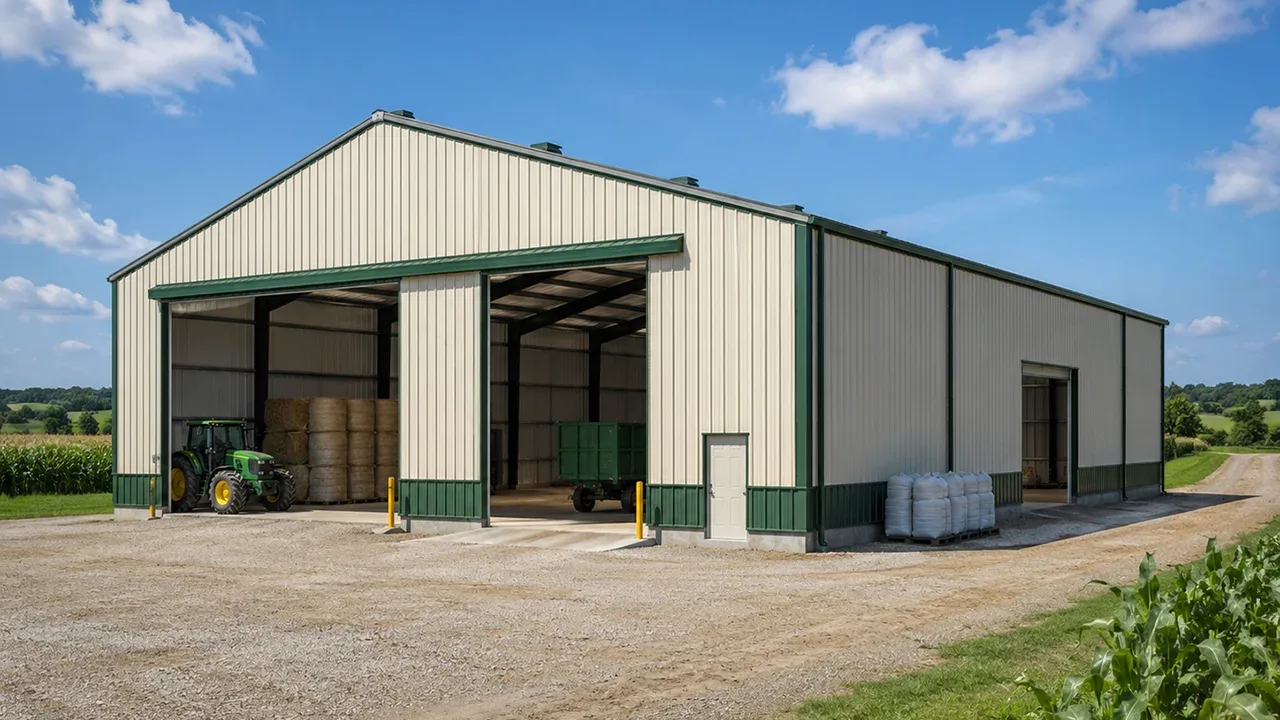
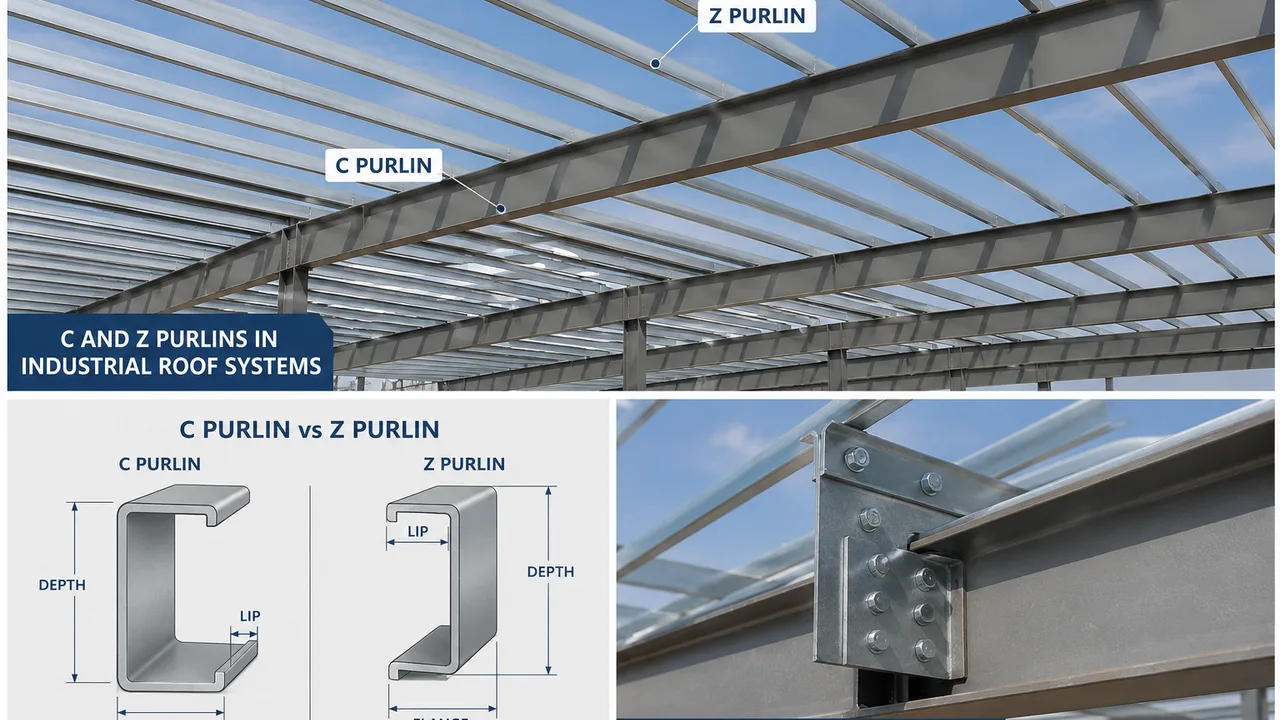
C and Z purlins are cold-formed steel members installed between the main steel frames and the roof sheeting. Their main function is to support the roof panels and transfer roof loads into the primary structure. In an industrial roof system, purlins usually run along the length of the building, spanning from one main frame to the next.
Although they are called secondary members, purlins have a direct effect on roof performance. They support roof sheets, provide fixing points for screws, help control roof panel deflection, and work with bracing or bridging systems to resist lateral movement. They also influence the speed and accuracy of roof installation because the roof panels must align properly with the purlin layout.
C and Z purlins are commonly used because they are lightweight, efficient, and suitable for repetitive steel building systems. They can be manufactured in different depths, thicknesses, lengths, hole patterns, and coatings according to project requirements. This makes them practical for industrial roofs where repeated bays, long building lengths, and fast installation are common.
C Purlins in Roof Framing
C purlins have a C-shaped profile. They are simple, practical, and easy to understand on site. Because of their shape, C purlins are often used in shorter spans, wall girts, edge members, framed openings, canopy areas, and roof zones where straightforward connection details are preferred.
In many projects, C purlins are selected when the roof layout is relatively simple or when the member does not need to lap continuously over supports. They can also be useful where the design requires clear member orientation or direct connection to cleats and brackets.
C purlins are not automatically weaker than Z purlins. Their suitability depends on span, load, section size, connection detail, and roof system requirements. In the right layout, C purlins can provide efficient support and simple installation.
Z Purlins in Roof Framing
Z purlins have a Z-shaped profile. Their geometry makes them especially useful in continuous roof systems because they can overlap, or lap, more naturally at supports. This lapping behavior can improve continuity across multiple bays and may help the purlin system work more efficiently under certain design conditions.
Z purlins are commonly used in industrial buildings with repeated frame spacing, long roof lines, and large roof areas. They are practical when the design benefits from continuous members, lapped connections, and more efficient load transfer across supports.
Because Z purlins are often used in long-span industrial roofs, their design must be coordinated carefully. Lapping length, bolt position, support width, hole alignment, installation direction, and member marking all matter. A Z purlin system can be efficient, but only when fabrication and erection are properly planned.
Why C and Z Purlins Design Matters
Purlins may look small compared with main steel frames, but they affect the whole roof system. They connect the roof sheeting to the structural frame, support roof loads, and help maintain the correct roof shape. If the purlins are not designed properly, the roof may not perform as expected even if the primary structure is strong.
C and Z Purlins Design matters because purlins must satisfy several requirements at the same time. They need enough strength to carry loads, enough stiffness to control deflection, enough stability to resist lateral movement, and accurate hole positions for fast installation. They also need suitable corrosion protection and connection details for the project environment.
Poor purlin design can create practical problems during construction and operation. Roof sheets may not align with purlins. Fasteners may miss the correct fixing line. Roof panels may deflect between supports. Wind uplift may stress screws and connections. Installation teams may need extra cutting, drilling, or adjustment on site. Over time, these issues can lead to leakage, maintenance problems, and reduced roof performance.
A good purlin design supports the entire industrial roof system. It allows the roof panels, fasteners, insulation, skylights, drainage details, bracing, and main frames to work together as one coordinated system.
Key Loads Considered in C and Z Purlins Design
Industrial roof purlins are exposed to different types of loads. Some loads act downward, some act upward, and some change according to weather, maintenance, or building use. A reliable purlin design must consider all relevant load conditions instead of focusing only on roof panel weight.
The exact load values depend on the building location, roof slope, design code, roof panel system, environmental exposure, and project function. However, the main load categories are usually similar across industrial steel buildings.
Dead Load
Dead load refers to the permanent weight carried by the purlins. This includes the self-weight of the purlins, roof panels, insulation, fasteners, roof accessories, ceiling systems, skylights, and permanently installed equipment. In some industrial buildings, service pipes, cable trays, ventilation units, or light equipment may also affect roof load planning.
Dead load is usually predictable, but it still needs proper coordination. If equipment is added after the roof design is finalized, the purlins may not have been sized for the extra weight. This is why roof-mounted equipment, suspended systems, and maintenance platforms should be discussed early in the design stage.
Live Load and Maintenance Load
Live load includes temporary loads on the roof. In industrial roof systems, this often comes from maintenance workers, inspection access, temporary tools, repair work, and occasional service activities. Even if the roof is not designed as a regular walking surface, it still needs to support safe maintenance according to the project requirements.
Maintenance load is important because workers may stand or move near roof panels, fasteners, skylights, gutters, and roof-mounted equipment. If the purlin spacing is too wide or the roof panel system is not coordinated, localized deflection or serviceability problems can appear.
Good purlin design should consider how the roof will be inspected and maintained. Access routes, safety anchors, skylight zones, and mechanical equipment areas may need additional coordination.
Wind Load and Uplift
Wind load is one of the most important considerations in industrial roof purlin design. Roof systems do not only carry downward loads. In many cases, wind can create suction that pulls the roof upward. This uplift can stress roof panels, fasteners, purlins, purlin-to-frame connections, and bracing systems.
Wind uplift is especially critical near roof edges, corners, ridges, openings, and high-exposure zones. These areas may experience stronger suction than the middle areas of the roof. If purlins and connections are not designed for uplift, the roof may face fastener pull-out, panel movement, connection damage, or serviceability problems.
For this reason, C and Z purlins must be designed together with the roof sheet fixing system. Screw spacing, washer quality, panel thickness, clip design, purlin thickness, and support alignment all affect uplift resistance. A strong purlin is not enough if the roof sheet connection cannot transfer wind forces safely.
Snow, Rain, and Environmental Loads
In regions with snow, purlins must be designed for snow accumulation and possible uneven snow distribution. Roof shape, slope, wind drifting, nearby higher structures, and drainage conditions can all influence snow loading. Even in regions without snow, rain and drainage still matter.
Poor drainage can lead to water ponding, especially on low-slope roofs. Ponding adds load and can increase deflection if the roof system is not properly designed. Purlin spacing, roof panel stiffness, slope, gutters, downpipes, and drainage layout should be coordinated to reduce this risk.
Environmental exposure also affects purlin design. Coastal areas, humid climates, industrial pollution, chemical exposure, and agricultural environments may require stronger corrosion protection. In these cases, coating selection is not just a finishing detail. It is part of the long-term structural strategy.
C Purlin vs Z Purlin: Design Differences
C purlins and Z purlins can both support industrial roof systems, but they behave differently in design and installation. The choice depends on span, load, continuity, connection method, roof layout, and site requirements. For a more direct comparison, see the Difference Between C and Z Purlins.
The main difference starts with geometry. C purlins have a channel-like shape, while Z purlins have an offset profile that allows easier overlapping at supports. This affects how each member is connected, how loads are transferred, and how the roof system is installed.
A project should not choose C or Z purlins only by habit. The better choice depends on the roof framing strategy. Some buildings benefit from simple C purlin layouts, while others benefit from continuous Z purlin systems with lapped connections.
Section Shape and Load Path
The section shape affects how a purlin carries bending, how it connects to supports, and how it interacts with roof sheeting. C purlins are straightforward and can be convenient for simple spans or edge conditions. Their shape makes them easy to identify and install in many framing layouts.
Z purlins are shaped to support continuity across frames. When lapped over supports, they can help distribute bending effects more efficiently across multiple bays. This can be useful in industrial roofs where the frame spacing is repeated and the roof line is long.
However, section shape alone does not determine performance. Steel grade, thickness, depth, bracing, connection design, roof sheet restraint, and installation quality all affect the final behavior.
Lapping and Continuity
Lapping is one of the major reasons Z purlins are widely used in industrial roofs. Because of their profile, Z purlins can overlap more naturally at the main frame supports. This can create a more continuous system, reduce some bending demand, and improve efficiency when properly designed.
C purlins are often used as single-span members or in simpler connection arrangements. They can still perform well, but they are usually not as convenient for continuous lapped systems as Z purlins.
The lapping detail must be designed carefully. Lap length, bolt quantity, hole position, support width, and installation direction all affect performance. If the lap is too short, poorly bolted, or misaligned, the expected continuity may not be achieved.
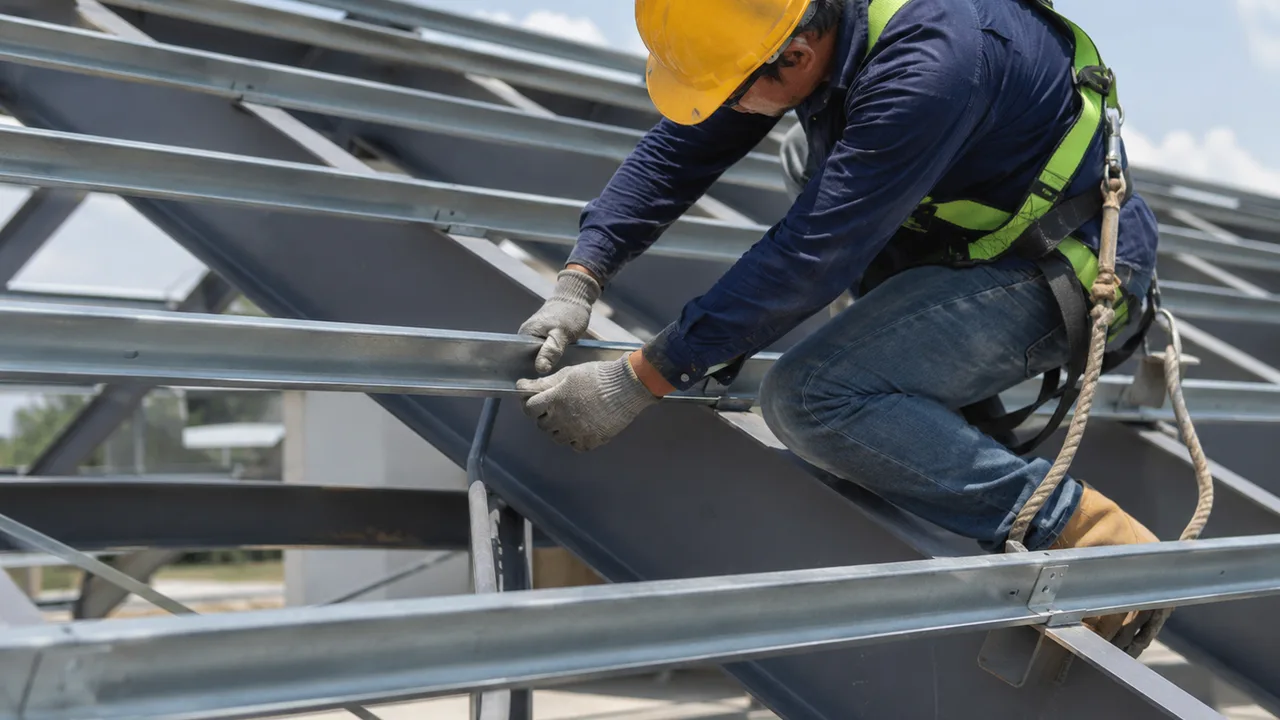
Installation and Handling
Installation is a practical part of purlin design. Even a well-calculated purlin system can create site problems if member marking, orientation, hole alignment, and lifting sequence are not planned clearly.
C purlins are often easy for site teams to understand because their shape is simple. Z purlins may require more attention to orientation, especially when lapping direction changes along the roof. Incorrect installation orientation can affect hole alignment, lap behavior, and roof sheet support.
For large industrial buildings, clear fabrication marks and erection drawings are essential. Purlins should arrive on site with correct labels, hole patterns, lengths, and coating protection. This reduces installation mistakes and helps the roof team work faster.
Main Design Factors for Industrial Roof Purlins
A reliable purlin system starts with the building layout. The distance between main frames, roof slope, roof panel type, environmental exposure, and installation method all affect the final design. This is why C and Z Purlins Design should be treated as part of the whole roof system, not as a separate material selection task.
In industrial steel buildings, purlins must be strong enough to carry loads, stiff enough to control deflection, stable enough during erection, and accurate enough for roof panel installation. If one factor is ignored, the roof may still face practical problems even when the purlin section looks acceptable on paper.
Span Between Primary Frames
The span between primary steel frames is one of the first factors in purlin selection. When the distance between frames increases, the purlins must span farther. This usually requires deeper sections, thicker steel, closer spacing, stronger bracing, or a more efficient continuity strategy.
Frame spacing affects both roof economy and installation. Wider bay spacing may reduce the number of main frames, but it can increase the demand on purlins, roof panels, and connections. Shorter frame spacing may make purlins lighter, but it can increase the quantity of primary frames. The best roof system balances main frame cost, secondary steel cost, roof panel performance, and erection speed.
Purlin Spacing
Purlin spacing affects how roof panels perform. If purlins are spaced too far apart, roof panels may deflect, vibrate, or become harder to fix properly. If spacing is too close, the project may use more steel and more fasteners than necessary.
The correct spacing depends on roof panel thickness, panel profile, wind load, insulation system, skylights, maintenance access, and local design requirements. In high-wind areas, edge and corner zones may require closer spacing or stronger fastening details because wind uplift can be more severe in these areas.
Purlin spacing should also match the roof sheeting layout. Screw lines, panel overlaps, side laps, skylight locations, ridge details, gutters, and edge trims must be coordinated with the purlin grid. This coordination helps reduce installation errors and leakage risk.
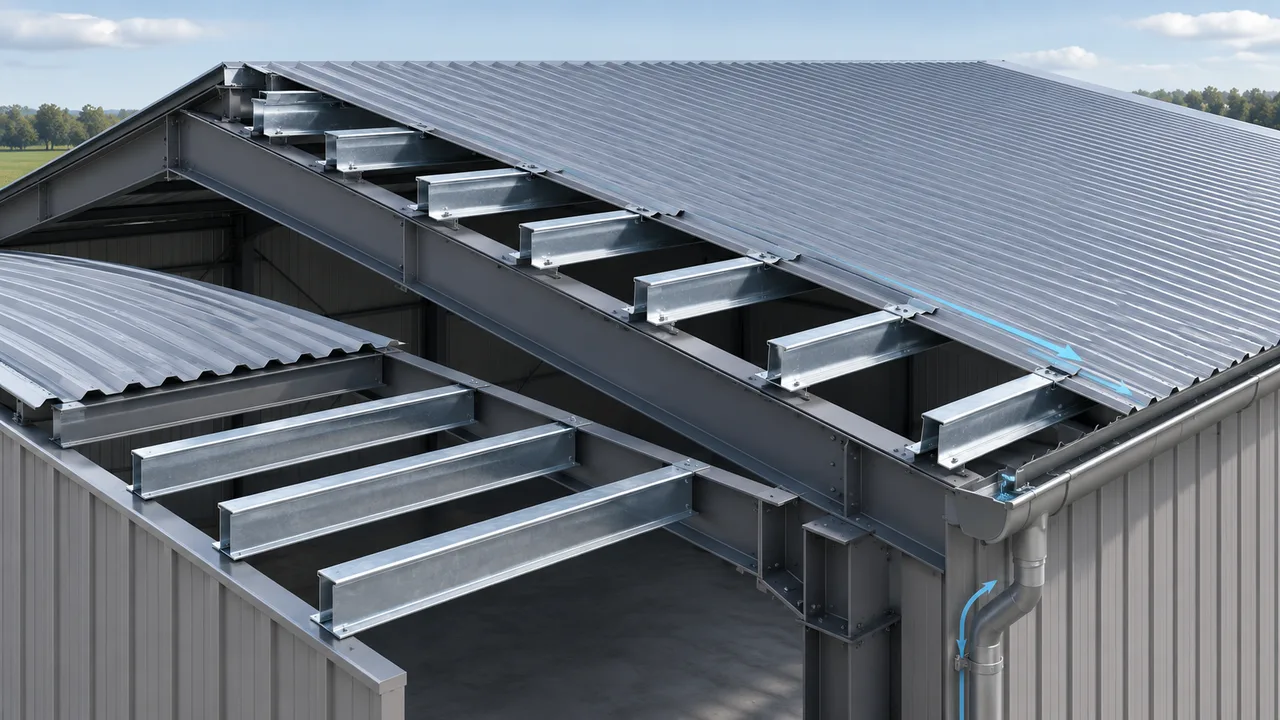
Roof Slope and Drainage
Roof slope affects drainage, roof panel behavior, and long-term serviceability. Industrial roofs are often designed with practical slopes to move water toward gutters, downpipes, or drainage channels. If the slope is too low or the roof deflects too much, water may collect in unwanted areas.
Purlins help maintain the roof plane. Their spacing, stiffness, and alignment influence how roof panels sit on the structure. Poor purlin alignment can create uneven panel support, water paths, ponding risk, and sealing problems.
Drainage should be coordinated with roof framing from the beginning. Gutters, valleys, roof penetrations, skylights, and equipment supports can all affect water movement. A purlin layout that ignores drainage can create problems after the building is already in use.
Section Depth and Thickness
Purlin depth and steel thickness affect load capacity, stiffness, weight, and cost. A deeper purlin usually provides better bending performance, while thicker steel can improve strength, connection capacity, and local stability. However, bigger sections are not always the best answer.
Overdesigned purlins add unnecessary steel weight and cost. Underdesigned purlins can cause deflection, vibration, installation difficulty, or connection stress. The design should match the actual span, load, roof panel system, and service requirements.
Section selection should also consider fabrication and handling. Very long or heavy purlins may be harder to transport, lift, and align. Good design balances structural performance with practical site installation.
Steel Grade and Coating
Steel grade affects purlin strength. Higher-strength steel may allow more efficient sections, but the design must still consider local buckling, connection behavior, hole positions, and installation quality. Material strength alone does not guarantee roof performance.
Coating is also important. Purlins are often exposed to humidity, condensation, coastal air, industrial pollution, agricultural environments, or chemical vapors. Galvanized coatings, painted systems, or project-specific corrosion protection may be needed depending on exposure conditions.
For industrial buildings, corrosion protection should not be treated as a decorative finish. It affects service life, maintenance cost, and long-term roof reliability.
Connection Details in C and Z Purlins Design
Purlin performance depends strongly on connections. A purlin section may have enough strength, but the roof system can still fail or underperform if the connections are weak, misaligned, or difficult to install. Good connection design supports load transfer, erection accuracy, wind uplift resistance, and long-term serviceability.
Connection details should be coordinated between engineering, fabrication, and site installation teams. Bolt holes, cleats, brackets, lap lengths, screw lines, bridging positions, and bracing points must match the approved drawings. Small errors in connection layout can create large problems across a long industrial roof.
Purlin-to-Frame Connections
Purlin-to-frame connections transfer roof loads from the purlins into the main frames. These connections usually involve bolts, cleats, brackets, or support plates. Their details must match the purlin profile, frame geometry, load direction, and erection sequence.
Hole alignment is especially important. If purlin holes do not match frame cleats, site teams may drill extra holes, enlarge holes, or force members into position. These field corrections can reduce quality, slow installation, and create corrosion risks if exposed steel is not repaired properly.
For Z purlins, lapped support connections require extra attention. The lap must be long enough, properly bolted, and correctly oriented. For C purlins, connection simplicity can be an advantage, but the connection still needs enough capacity for gravity loads, uplift loads, and lateral restraint.
Roof Sheet-to-Purlin Fixing
Roof sheets depend on purlins for support and fastening. The sheet-to-purlin connection must resist downward loads, wind uplift, thermal movement, and water penetration. Fastener type, screw spacing, washer quality, panel thickness, and purlin thickness all affect performance.
Poor fixing details can lead to roof leaks, loose panels, screw pull-out, or panel movement during strong winds. This is why the roof panel supplier’s requirements should be coordinated with the purlin design. The purlin layout must provide reliable fixing lines for panels, side laps, end laps, flashings, and accessories.
Waterproofing should also be considered. Fasteners should be installed correctly, not over-tightened or under-tightened. Panel laps and penetrations should align with the roof support system so that sealing details can perform properly.
Bridging, Sag Rods, and Bracing
Purlins are slender members, so they often need lateral restraint. Bridging, sag rods, and bracing help control movement, improve stability, and keep purlins aligned during erection and service. These elements are especially important before the roof sheets are fully installed, because the purlins may be less restrained during construction.
Bracing can also help distribute loads and reduce twisting. Without proper restraint, purlins may rotate, sag, or move laterally. This can affect roof sheet installation and long-term roof performance.
The location and sequence of bridging should be shown clearly on erection drawings. Site teams need to know which restraint members must be installed before roof sheeting begins. Good bracing planning makes installation safer and more accurate.
Table: Common C and Z Purlin Design Considerations
| Design Factor | Why It Matters | Practical Design Note |
|---|---|---|
| Span | Longer spans increase bending and deflection demand | Coordinate main frame spacing with purlin capacity |
| Spacing | Spacing affects roof panel support and fastener layout | Match spacing with panel profile, wind load, and roof use |
| Load type | Purlins must resist gravity loads, uplift, and service loads | Consider dead load, live load, wind, snow, and maintenance loads |
| Roof panel system | Panels depend on purlins for support and fixing | Coordinate screw lines, laps, skylights, and insulation |
| Connection detail | Weak or misaligned connections reduce roof reliability | Check holes, bolts, cleats, laps, and support conditions |
| Corrosion protection | Exposure affects service life and maintenance cost | Select coating based on humidity, coastal air, chemicals, or pollution |
| Installation sequence | Purlins need stability during erection | Plan marking, lifting, bridging, bracing, and roof sheet installation |
Common Mistakes in Purlin Roof Design
Many roof problems begin with small decisions made during design, fabrication, or installation. Purlins are repeated across the entire roof, so one mistake can be multiplied across many bays. Avoiding these mistakes is an important part of good C and Z Purlins Design.
Choosing Purlins Only by Price
Low-cost purlins may look attractive during procurement, but price alone is not a design strategy. If the selected section is too light, too thin, or poorly protected, the project may face deflection, vibration, connection issues, or early corrosion.
A better approach is to compare total roof performance. The right purlin should meet structural requirements, support the roof panel system, match the installation method, and reduce long-term maintenance risk.
Ignoring Wind Uplift
Some roof designs focus mainly on downward loads, but wind uplift can be more critical in many industrial buildings. Uplift can pull on roof sheets, screws, purlins, and purlin-to-frame connections. Edge zones, corners, ridges, and openings may need special attention.
Ignoring uplift can lead to fastener failure, roof panel movement, water leakage, or structural damage. A reliable roof design must check both downward and upward load paths.
Poor Coordination with Roof Panels
Roof panels and purlins must work together. If panel span limits, screw positions, insulation thickness, skylights, roof penetrations, and drainage details are not coordinated with purlin spacing, the roof may become difficult to install or maintain.
Panel layout should be reviewed together with the purlin layout before fabrication. This helps avoid extra drilling, misplaced fasteners, unsupported panel edges, and sealing problems.
Not Planning Site Installation
Purlin installation requires clear marks, correct orientation, accurate holes, safe lifting, and proper bracing sequence. If these items are not planned, site teams may waste time sorting materials, correcting alignment, or making field modifications.
Large industrial roofs often include hundreds or thousands of purlin members. Clear fabrication labels and erection drawings can significantly reduce mistakes and speed up installation.
How Good Purlin Design Improves Industrial Roof Performance
Good purlin design improves the roof in several ways. First, it creates better structural stability by providing a reliable path for roof loads. The purlins help transfer forces from roof panels to the main frames and help the roof system resist movement.
Second, it improves roof sheet installation. When purlins are straight, accurately spaced, and properly connected, roof panels are easier to install. Screw lines are more accurate, laps are better supported, and the roof surface is more consistent.
Third, it reduces leakage risk. Many roof leaks are related to poor alignment, unsupported panel areas, bad fastener positions, or drainage problems. Proper purlin layout helps roof panels and waterproofing details perform as intended.
Fourth, good purlin design improves erection speed. Site teams can work faster when members are correctly marked, holes align, bracing is planned, and installation drawings are clear. This is especially important for industrial buildings with large roof areas and tight construction schedules.
Finally, good purlin design lowers long-term maintenance risk. Correct spacing, coating, fixing, and access planning help the roof remain stable, serviceable, and easier to inspect over time.
When to Use C Purlins and When to Use Z Purlins
C purlins and Z purlins both have practical uses. One is not always better than the other. The right choice depends on roof layout, span, loading, continuity needs, connection method, and installation preference.
C purlins are often suitable for simpler layouts, shorter spans, wall girts, framed openings, canopy areas, end zones, and projects where direct connection details are preferred. Their shape is easy to recognize and can simplify certain installation conditions.
Z purlins are often suitable for continuous roof lines, repeated industrial bays, longer spans, and lapped systems. Their profile makes overlapping at supports more practical, which can improve continuity when properly designed.
For many industrial roof systems, the best solution may use both types in different locations. Z purlins may be used for main roof areas, while C purlins may be used at edges, walls, framed openings, or special details. The final selection should follow the structural design, roof panel system, fabrication capacity, and site installation plan.
Conclusion: C and Z Purlins Design Should Match the Whole Roof System
C and Z Purlins Design should never be treated as a simple section selection task. Purlins are part of a complete industrial roof system. They support roof panels, transfer loads, resist uplift, control deflection, provide fixing lines, and help the roof remain stable during construction and service.
The best design balances span, spacing, section depth, steel thickness, roof load, connection detail, corrosion protection, roof panel layout, fabrication accuracy, and installation sequence. When these factors are coordinated, C and Z purlins can help create a roof system that is strong, economical, accurate, and easier to maintain.
For industrial buildings, good purlin design is a practical investment. It improves roof performance, reduces construction problems, supports long-term durability, and helps the entire steel building system work as intended.